Tuesday, August 6, 2013

Crème Brûlée


Ok, let's be honest. Crème brûlée always makes me think of "My Best Friend's Wedding". I love that movie! There's a scene near the end where Julia Roberts and Cameron Diaz are having a conversation, seemingly about dessert. Cameron Diaz's fiance has called off their wedding, and Julia Roberts is trying to explain to Cameron Diaz why. Roberts explains that Diaz's fiance is looking for a simple woman, for which she inexplicably uses "jello" as a metaphor. Roberts consoles Diaz that she is "crème brûlée", not "jello". Diaz sobs that she wants to be jello, but Roberts assures her that crème brûlée can never be jello.

I agree with Julia Roberts on this one. Crème brûlée can never be jello. Thank goodness, because crème brûlée is exceedingly heavenly. This is one of my favorite desserts, and it is the hubby's favorite dessert. I tried to be such a good wife on our anniversary, and make crème brûlée for dessert. The only problem? No cream on hand. I soldiered ahead, determined to sub milk for cream. Bad idea. I learned that you use cream for crème brûlée due to the fat content. I used milk and added an extra egg yolk for more fat, but to no avail. The crème brûlée never set, and was a runny, nasty mess.

Crème brûlée fail!
Well, you know me. If at first you don't succeed, try, try again. And I did. To be real people, this dessert sounds elegant and hard, but there's only 5 ingredients. It's actually a cinch to make. Try it peeps! This is a great skill to keep under your belt :)

Ingredients (makes 3 custards):

2 cups heavy cream
1/2 vanilla bean
5 egg yolks
3/8 cup sugar
Baking sugar

Directions:

1. Preheat oven to 325º. Bring a large pot of water to boil on the stove.
2. Pour heavy cream into a pot. Scrape seeds from vanilla bean into the cream, place pod in cream. Infuse cream over medium-high heat (heat over burner just until tiny bubbles appear around the edge of the cream). Remove from heat and allow to set for 15 minutes. Remove vanilla pod from cream, discard. Pour cream through a fine strainer to remove any lumps. Set aside.
3. In a large bowl, cream egg yolks and sugar together for a few minutes until thick, pale yellow, and creamy. Slowly drizzle one cup of cream into eggs as you are whisking to temper the eggs. Slowly incorporate the rest of the cream. Pour mixture into a pourable container.
4. Place ramekins in a large, wide-sided pan. Divide cream mixture among ramekins. Place boiling water into a pourable container. Pour water into the wide-sided pan until water is halfway up the ramekins. Be careful not to get any water into the ramekins.
5. Carefully place water bath in the preheated oven. Bake for 40-45 minutes, or until custards are just baked through. They are done when a slight jiggle of the pan doesn't jiggle the custard. Remove from oven. Using a large spatula, remove the custards from the water bath, and allow to cool on the counter for 30-60 minutes. Cover, then chill in the fridge for at least 2 hours.
6. Before serving, sprinkle a thin layer of baking sugar on top of the custard. Using a blowtorch, toast the top of the custard until it's brown and crispy. Let sit for 30 minutes before serving.


*Recipe adapted from The Pioneer Woman*

Monday, August 5, 2013

Rotini with Salsa di Limone


So... the hubby's got a little thing for Giada. As in, Giada De Laurentis. Yes, from the Food Network. As I'm sure most men do, the hubby listens intently whenever Giada is on TV. He's also a fan of her recipes. Back when I hadn't seen every episode of Giada's shows (back before I hadn't seen every episode of Anne Burrell, Ina Garten, and Paula Deen's shows, for that matter), I picked up this recipe. Needless to say, that was a few years ago. At least more than 4, to be exact. How do I recall this? I made this dish for the hubby and I's wedding dinner. I think I even have a picture of me making it...


If you are asking yourself why in the world I would be making food for my own wedding, I'll tell you now that my wedding was completely unconventional. I'll leave it at that :)

This is a perfect dish for a light summer dinner, perhaps a "Meatless Monday" entree or side dish. Use a good quality mozzarella, the mozzarella really pulls the dish together. I've also added basil to my version, but seriously, who isn't tempted to throw basil in a dish with mozzarella, olive oil, and tomatoes? A disturbed person, that's who.

I hope everyone is having a fantastic Monday!

Ingredients:

8 oz rotini
1 tbsp salt
1 tsp olive oil
3-4 plum tomatoes, deseeded and diced
1 yellow tomato, deseeded and diced
8 oz fresh mozzarella, diced
1 large lemon, zest and juice
1/4 cup basil, chopped
2 tbsp olive oil
1 tsp salt
1/2 tsp pepper

Directions:

1. Bring a pot of salted water to boil on the stove. Add pasta, simmer for 9-10 minutes. Reserve 1/2 cup pasta water. Drain pasta and return to pot. Toss with 1 tsp olive oil. Set aside and allow to cool for 10-15 minutes.
2. In a large bowl, combine pasta, tomatoes, mozzarella, lemon zest, and basil. Add cooled pasta a small bowl, whisk olive oil with 2 tbsp lemon juice. Drizzle over pasta, add salt and pepper to the bowl. Toss to combine. Slowly add pasta water if pasta is too dry. Add more salt and pepper to taste.
3. Serve!

*Recipe adapted from Food Network*

Sunday, August 4, 2013

August's First Haul

St. Ives Apricot Scrub, Vaseline Spray & Go, Bounty Paper Towels, Downy, Skittles, Starburst, Revlon Nail Polish, Scuunci Elastics, Colgate Toothbrushes.
I've been bad lately when it comes to couponing. I've been keeping up (but barely), and I haven't been super-excited by the sales all summer, so my hauls have been very small. And uninspiring, as you can tell from the frequency of which I've been posting about them. I was in dire need of fabric softener this week however, so that motivated me to find other sales. You know, since I would be at the store anyway. In the end, I'm glad I sucked it up, and schlepped out to the store. My find of the day that had me very excited? Free Skittles and Starburst at Kroger! I love me some freebies :) Here's the breakdown for the week:

CVS:

Colgate Toothbrushes, 2 for $5.98 (Buy 2, Receive $2 in ECB's)
-used (2) $1 off any Colgate toothbrush coupons
Revlon Nail Polish, $4.99 (Buy 1, Receive $3 in ECB's)
-used (2) $1 off any Revlon Color Cosmetic coupons

-Used $4.50 in ECB's, paid $7.46 out of pocket, and made $8 in ECB's.

Rite Aid:

Scuunci Hair Elastics, $2.99 (Buy 1, Receive $2 in UP's)
St. Ives Apricot Scrub, $4.49 (Buy 1, Get 1 50% Off and Buy 2, Receive $2 in UP's)
-used (2) $0.75 off St. Ives Apricot Scrub
Vaseline Spray and Go Moisturizer, $5.99 (Buy 1, Receive $2 in UP's)
-used a $1 off Vaseline Spray and Go Moisturizer coupon

-Used $4 in UP's, paid $9.21 out of pocket, and made $6 in UP's.

Kroger:

Starburst and Skittles, 2 for $1
-used (4) $0.50 off 2 Starburst or Skittle packs (doubled to $1- free!)
Bounty Paper Towels, $5.99
-used a $1 off Bounty DuraTowels coupon
Downy Fabric Softener, $3.99
-used a $3 off 3 Downy products coupon, and a $1 off Downy Kroger e-coupon.

-Paid $12.96

Total Spent- $29.63 on 82.40 worth of product. Savings of 64%.

I hope everyone had a great weekend! :)

Saturday, August 3, 2013

Home Decor: Living Room Wall Collage


I have finally decorated this gigantic wall in my living room! 

It has been the bane of my existence for the last couple of months. It was the biggest, blankest wall in the house, and it really made the house look like we had just moved in. It's one of the first walls you see when you walk in the house, and it was just so... so... empty.

I have a list of priorities of what I want to get done in the house, and my top 3 at that moment was:

1. Living Room Wall
2. Living Room Curtains
3. Coffee Bar in the Kitchen

In my mind, I just knew that decorating the wall and putting curtains in the living room would pull the house together immensely. I had originally wanted to put 1 large piece of art on that wall, but have since come to reconsider. I was having a abysmal time trying to find a piece of art. And every time I got on Pinterest, I saw all these beautiful wall arrangements. So of course, Pinterest came to change my mind. Last weekend, we trekked to Target and I picked up a floating shelf and some round mirrors. The first pieces to be collected for my eclectic wall.

Once I put my mind to it, I began to pick up pieces like crazy. I had everything picked out and by Thursday, I was waiting for one piece I'd ordered off Amazon. Of course, it arrived that day! The whole course of the day was altered, and I forced the hubby to hang up my wall collage.

I'm so glad I did, I can't stop staring at it!


This is the piece I ordered from Amazon. I'm always hesitant to order stuff like this online, because you never know how it's going to look in person. Thankfully, I think I love this piece even more now that I have it in front of me.


I got 5 differently sized circle mirrors at Target. I loved that I could place them anywhere, they didn't have to stay together. I didn't realize you could see me until after I took the picture. Hehe.


I was a sucker for these birds.


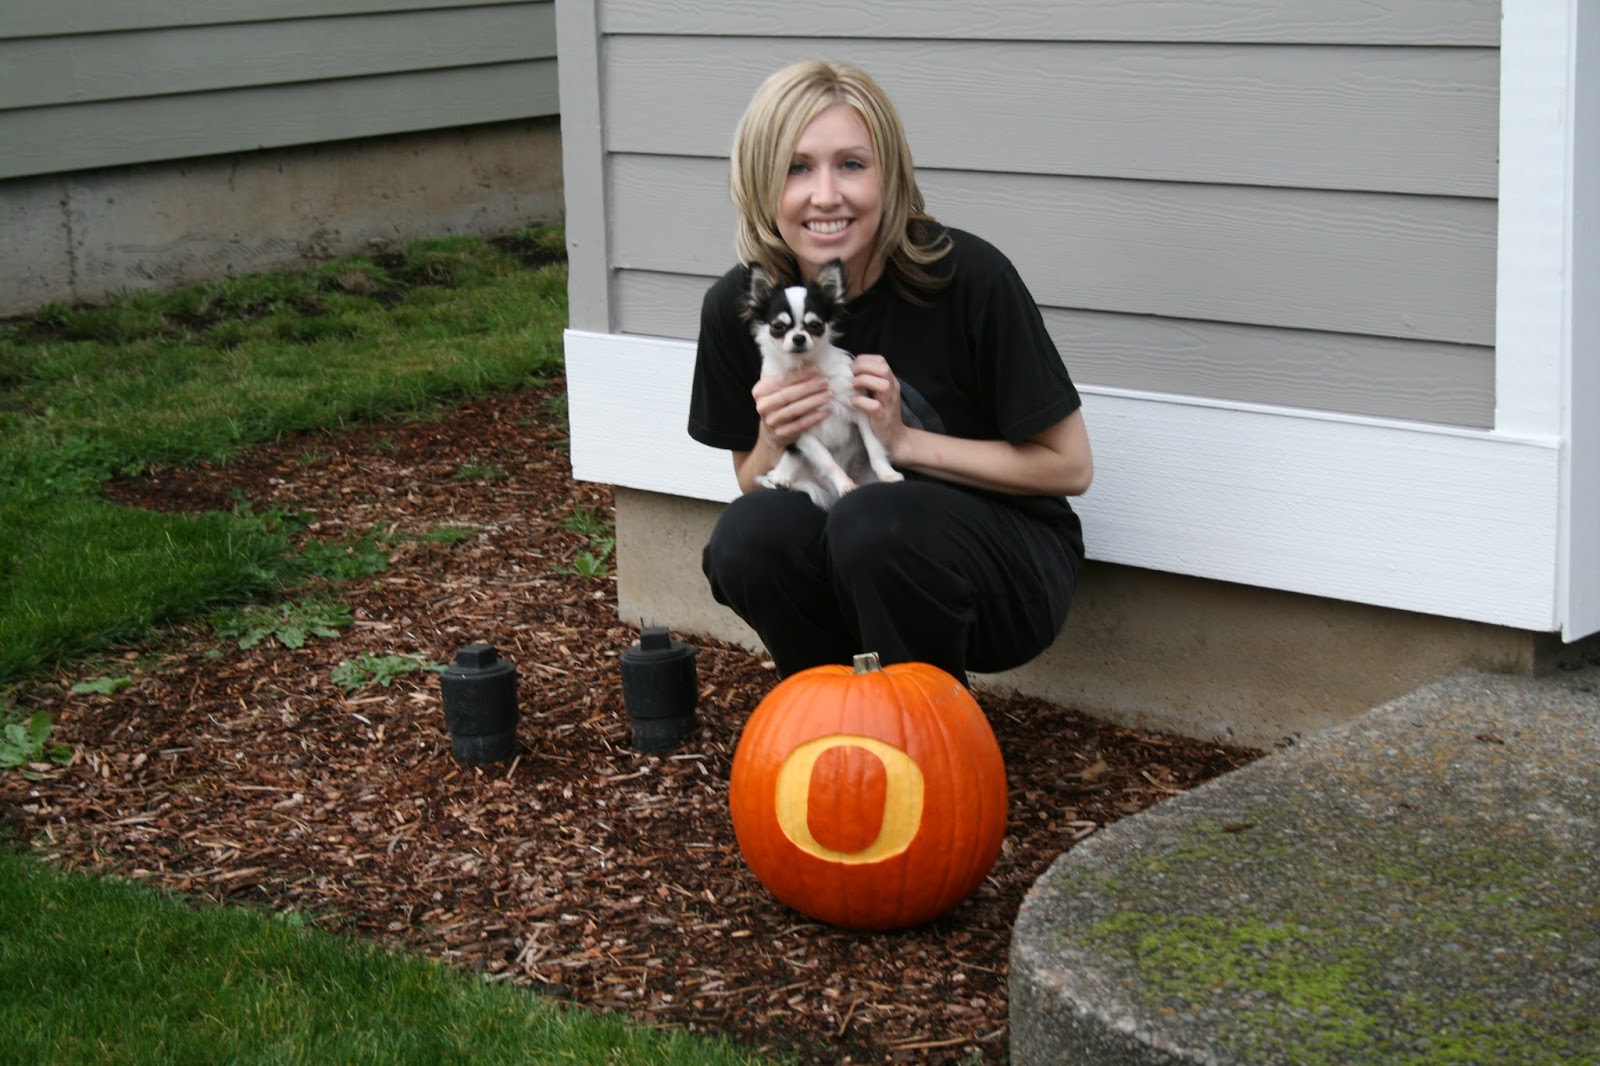
This was a little wink-wink to the hubby and I, being such huge Oregon Duck fans :)


Decorating the wall has really given the living room some new life. I'm so pleased with how it turned out.


And you can see how different it makes the room look! Ahh, bliss :)

Next up, curtains!

Friday, August 2, 2013

Blackberry Popsicles


Popsicles are not just for kids my friends! I love popsicles. I have since I was a kid. My favorites were the long, skinny Welch's Fruit Juice popsicles in- what other flavor is there?- raspberry. Yummy.

Popsicles always make me think of summers during my childhood-

--Playing outside all day long. At least until the sun went down at what seemed to be 9 pm--

--Riding my bike to the park with friends, wind in my hair, helmet occasionally sliding down over my forehead, riding so fast I imagine I'm going to break the sound barrier--

--Trips to the community pool to wait in line for the water-slide, slip-n-slide mat wrapped around my waist, brave smile on my face--

--Begging my parents to let me sleep a tent in the backyard, armed with nothing more than friends, a flashlight, and a very friendly dog--

--The days when my only responsibility was to vacuum the entryway stairs or clean a bathroom. Funny how that one chore always seemed to be a huge, time-consuming obstacle. The one thing standing in the way of my over-indulgence in the summer sun--

--Neighborhood wide games of "Capture the Flag"--

--Counting down the days of August, dreading being forced back into that claustrophobic classroom--  (Can you tell I didn't like school?)

Well, you know what? Popsicles aren't just for kids. I still love them. They are one of the healthiest desserts, consisting of mostly fruit and a little sugar water. They are super-easy to make, delicious, and a great use of summer berries. And you know what? They taste so much better than store-bought!


Ingredients (makes 5-7 popsicles):

1/3 cup water
1/3 cup sugar
3 cups blackberries
1 tsp lemon juice

Directions:

1. In a small saucepan, heat water and sugar. Stir until sugar dissolves. Remove from heat, and let cool.
2. In a food processor, pulse blackberries and lemon juice until completely smooth. Pour blackberry mixture through a fine sieve to strain out seeds.
3. Put de-seeded blackberry mixture back in food processor. Add sugar water, and pulse again until smooth. Pour mixture into a pourable container.
4. Pour blackberry mixture into popsicle molds. Place a wooden popsicle stick in the middle of each and place each mold in the freezer for 4 hours. Popsicles are ready to serve after 4 hours.

*Recipe courtesy of Picture Perfect Meals*

-You can also find this recipe over on The Country Cook's weekly linky party!

Thursday, August 1, 2013

Why I Love Living in the Country

If you had known me when I was growing up, you would have said I was the last person you could imagine that would end up living in the country. I'd always fancied myself a city girl when I was younger. I dreamed of living in downtown San Francisco, in one of those impossibly skinny townhouses, riding Bart, and fighting the millions of people during the morning commute. Fresh out of college, I resigned myself to living in Portland instead of San Fran, but Portland was still a big city. 

Portland is where I discovered I'm not a city girl. I'm the exact opposite of a city girl. 

Here's why I love living in the country-


-This is my view.

-There is no traffic. I've driven on the main highway before, and only encountered 2-3 cars the entire time I was on it. A "bad" traffic day is one where someone has broke down on the side of the road, and traffic is delayed 2 minutes. There's been ongoing bridge work around here, (resulting in a sometimes-20 minute delay getting into the city)and you would think Rapture was imminent by the way people carry on around here.

-I have no qualms about building a bonfire on our property at 11 pm at night, because there's no neighbor's close enough to care. A very different situation from our last house in Oregon where our neighbor's house was about 15 ft from ours.

I'm crouched in front of our house (our last house in Oregon). Our neighbor's house is the one in the background. Ridiculously close.
-There's room for the dogs to run. I can open my garage door, and just let them run out onto the property. They've got our entire property to roam. We live on a gravel lane, so there's no cars driving by our house to make me worry about the dogs getting hit.

-I love sitting on our front porch at dusk, and seeing a herd of deer traveling across the field by our house.

-It's so quiet. No neighbor's arguing, being obnoxious, or having parties. No hearing babies crying, or little kid's fighting. At night, you can hear the bugs humming and the frog's in the creek.

-There's no light from a city to interfere with your view of the stars at night.

-Shopping at most anytime of the day is like going to the store in a big city at 3 am. There's no one there. It's fabulous. Same goes for the restaurants.

-It's ok to drive on the road by our house on a four-wheeler. Or a horse. Or a tractor. Or a segue-way.

-Everyone knows from "The Walking Dead" that cities will fall first in a zombie apocalypse. It will take longer for the zombies to spread out to the rural areas, giving us precious time for a plan of recourse.

-Everyone knows everyone.

And a few reasons why I don't like living in the country-

-Everyone knows everyone.

-There's no place to buy fresh fish within 2.5 hours. Same goes for Whole Foods. And Chipotle. And Bed Bath and Beyond. And Trader Joe's. The list is endless.

-Mountain Lions. Coyotes. Snakes. HUGE bees.

Wednesday, July 31, 2013

Asian Style Slaw


Pictures don't do this slaw justice. After years and years of sticking to lettuce, I've begun to appreciate cabbage. Especially on tacos and sandwiches, items I've always strictly put lettuce on. I'm always hesitant to try a new vegetable, mainly because I'm always worried if the hubby will eat it or not. So I was hesitant to try using cabbage. Luckily, my fears were unfounded and the hubby likes cabbage if I prepare it the right way. I've primarily begun to make slaws and put cabbage in soup. So far, so good.

If you are a fan of Asian flavors, you'll love this slaw. It's tangy, sweet, salty, crunchy, etc. I served this on Hoisin Turkey Burgers (ground turkey mixed with a tbsp of hoisin, a tsp of garlic, and a sprinkle of salt and pepper), and the burgers were devoured so fast there was nary a picture. Boo. Even though I put this slaw on burgers, you could easily serve it as a side to chicken, pork, fish, etc.

I'll be scarfing down the leftovers for lunch today :)


Ingredients:

1 head cabbage, thinly sliced
1 carrot, shredded
1 jalapeno, de-seeded and minced
3 green onions, thinly sliced
2 tbsp rice vinegar
2 tbsp soy sauce
1 tbsp sesame oil
1 tbsp extra virgin olive oil
1 tsp garlic, minced
1 tsp toasted sesame seeds
1 tsp sugar
1 tsp ground ginger
salt and pepper

Directions:

1. In a large bowl, combine cabbage through green onions.
2. In a small bowl, combine vinegar through ginger. Whisk thoroughly. Drizzle over salad, toss to coat. Salt and pepper to taste. Serve.

*Recipe adapted from Curry and Comfort*

Monday, July 29, 2013

Pizza Sauce


Those tomatoes just keep on comin'! A couple of days ago, the hubby's uncle brought us 3-4 lbs of tomatoes. I'd just finished up with my previous 4 lbs, what the heck was I going to do with even more? Pizza sauce, I thought, pizza sauce. The hubby hates my go-to fast and easy sauce, Ragu. It was a much better plan to make my own sauce, freeze it in little portions, and just use those when I make pizza. So that's what I did.

I ended up getting 7 (1-cup) portions of pizza sauce, which I froze in food-saver bags and then tossed in the freezer. That's a lot of pizza. It's ok, we love pizza in this house. I usually make a couple a month. Plus, we'll be getting more tomatoes. I may be back in the kitchen, pureeing up more sauce before it's all said and done.

This sauce is super-easy to make, and tastes so fresh! I was very pleased with the sauce. I simmered mine on the stove for 2 hours to let all the flavors meld together, and the house smelled delish all day. I know it's so easy to buy pizza sauce at the store, or even order a take-out pizza, but at least when it's homemade you know what's in it. And then you know exactly what you are feeding your family :)


Ingredients:

1 tbsp olive oil
1 tbsp minced garlic
4 lbs tomatoes, deseeded and diced
1 (15 oz) can tomato paste
1/3 cup chicken broth
2 tsp kosher salt
1 tsp onion powder
1 tsp Italian seasoning
1 tsp oregano
1/2 tsp black pepper

Directions:

1. Heat olive oil in a large, wide-side pan over medium-high heat. When hot, add garlic. Saute for 30 seconds, or until toasted. Add tomatoes to pan, saute 5 minutes or so. Add tomato paste and chicken broth to the pan.
2. Add kosher salt through pepper to the pan. Bring to a simmer, cover pan, and lower heat. Simmer for 2 hours, stirring every half 30 minutes.
3. Taking an immersion blender to the sauce, puree until sauce is very smooth. Remove pan from heat, and allow sauce to cool before storing. Makes about 7 (1-cup) portions. Can be store fresh in the fridge for up to 5 days, covered tightly.

Sunday, July 28, 2013

Banana Sundae Cupcakes


There must be something in the air lately, I've just been feeling really creative in the kitchen. I had some bananas leftover from last week that had to be used. Badly. After running through the usual options of muffins, banana bread, and banana pudding, I settled on cupcakes. I couldn't find a specific recipe I wanted to use, so I improvised on the recipe. I knew I wanted a banana cake, whip cream tasting-frosting, a chocolate drizzle, and chopped nuts.

The cupcakes turned out fantastically. Can't stop eating them good. The recipe made 24 cupcakes, so with a heavy heart, I knew I had to give most of them away. Between the hubby's aunt and uncle, and then his mother, we've managed to clear the house of most of them. They were a huge hit with all the in-laws, which I judged by the pace of which people were scarfing them down.

They were a bit laborious to undertake, but hey, the weekend was made for relaxing while baking yummy treats in the kitchen :)


Ingredients:

1 box yellow cake mix
1/2 cup flour
3 ripe bananas
1 tsp baking soda
1/2 tsp lemon juice
3 eggs
1/3 cup canola oil
3/4 cup greek yogurt
3/4 cup buttermilk
1 tbsp vanilla extract
1/2 cup chocolate chips
1/2 cup walnut pieces, chopped

Recipe for frosting: Whip Cream Frosting

Directions:

1. Preheat oven to 350º. Line 2 cupcake pans with paper liners.
2. In a small bowl, combine cake mix and flour.
3. In another small bowl, mash bananas together with baking soda and lemon juice.
4. In a large bowl, whisk together the eggs through the vanilla extract. Add the banana mixture to the wet ingredients, whisk until well combined. Add the cake mix/flour to the wet ingredients, stir until batter is mostly smooth (there will be chunks of banana in the batter).
5. Fill cupcake liners 3/4 way full. Bake in oven 15-18 minutes, or until a toothpick comes out clean. Remove from oven, cool in pan 5 minutes, then remove cupcakes to a cooling rack.
6. Prepare whip cream frosting.
7. When cupcakes are completely cool, frost with whip cream frosting.
8. In a double broiler, melt chocolate chips until smooth. Remove from heat, let cool for 10 minutes.
9. Place all cupcakes on a cookie sheet. Using a spoon, drizzle chocolate over cupcakes. Dust cupcakes with chopped walnuts. Place cookie sheet in the fridge for 30 minutes, then immediately serve. Store remaining cupcakes in fridge.

Cake recipe adapted from Your Cup of Cake