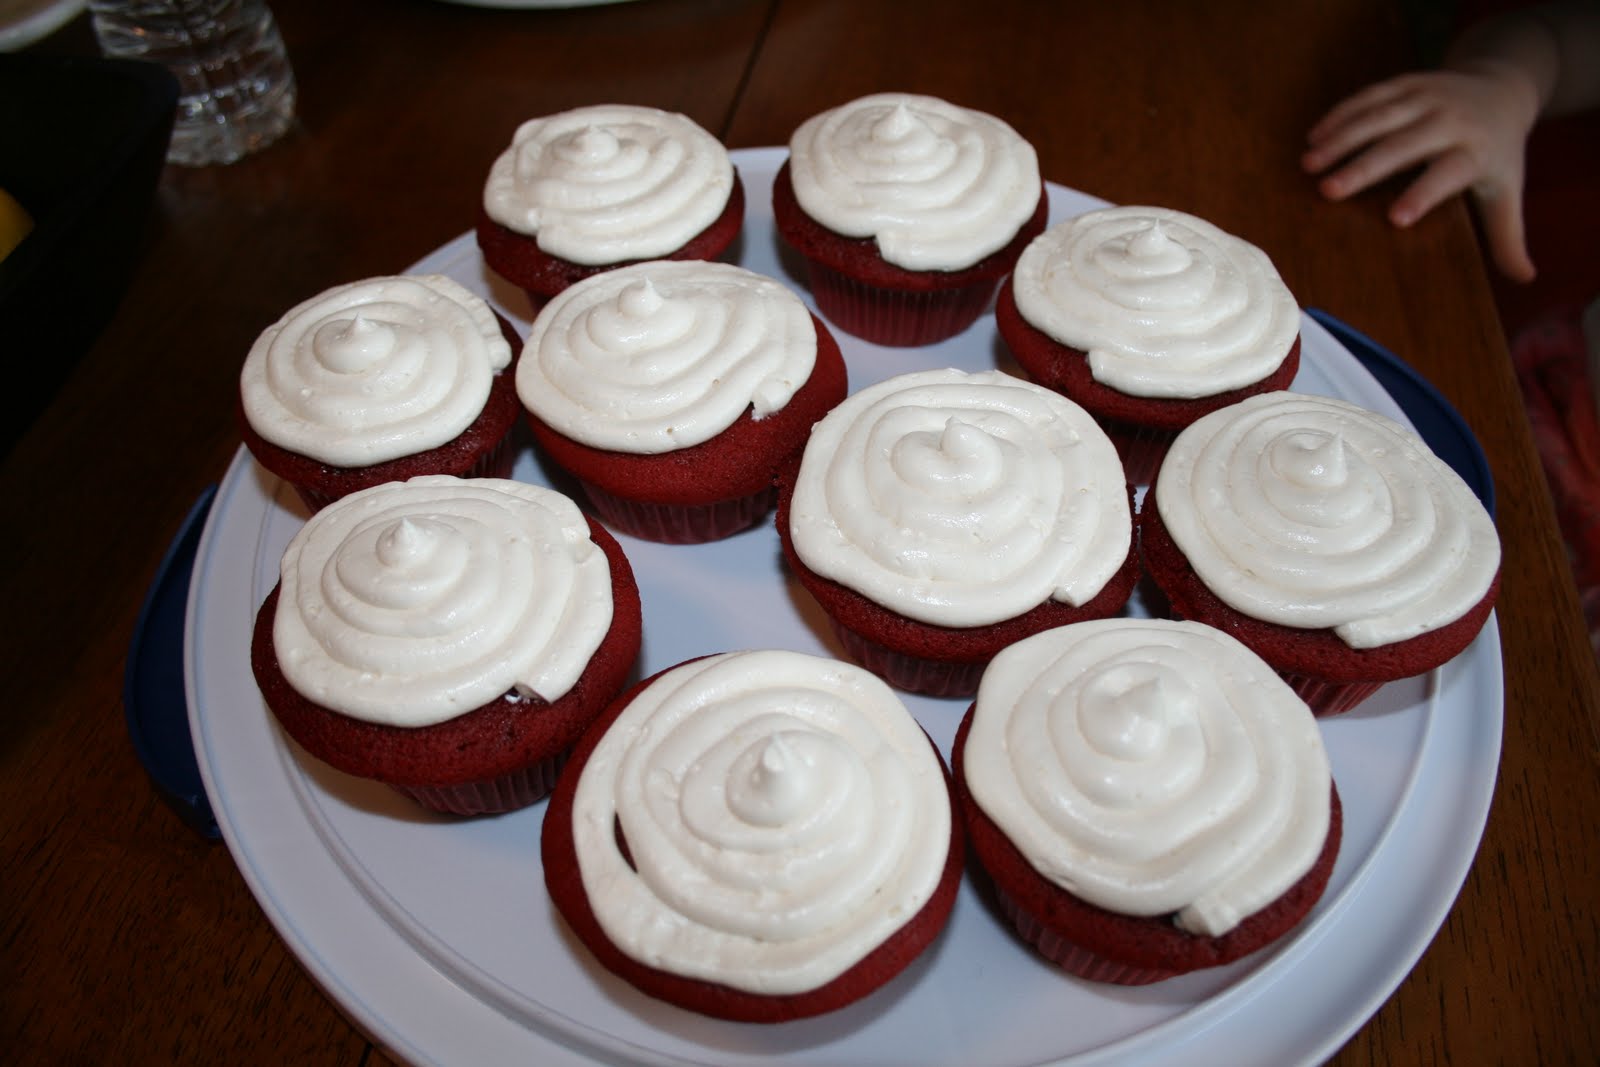
My first concoction was a Boston cream pie. What a lesson! My cakes did not rise, which I later found out was most likely due to the fact that my baking powder was expired. I learned to check my expiration dates on my products. I also over cooked my custard which resulted in the cream part of my pie being somewhat... dry and lumpy. Boo. Another valuable lesson learned. My next project was chocolate chip cupcakes, which actually turned out fantastic! I learned that cupcakes are ALMOST impossible to screw up. Keeping up with the cupcakes, my husband asked me to make Red Velvet cupcakes for his mom's birthday. These also turned out great!
The thing I have learned about cupcakes that makes them almost impossible to mess up is that if you properly cream the butter and sugar, the rest pretty much makes it self. I have found that creaming takes a lot longer than you think it would or should. In fact, a lot longer! But that proper creaming technique makes all the difference in the world and you end up with a light and moist cake. Here is the recipe I used for these wonderful confections-
Ingredients and Preparation:
- 3 1/2 cups cake flour (not self-rising)
- 3/4 cup (1 1/2 sticks) unsalted butter, softened
- 2 cups sugar
- 3 large eggs, at room temperature
- 6 tablespoons red food coloring
- 3 tablespoons unsweetened cocoa
- 1 1/2 teaspoons vanilla extract
- 1 1/2 teaspoons salt
- 1 1/2 cups buttermilk
- 1 1/2 teaspoons cider vinegar
- 1 1/2 teaspoons baking soda
- 1 recipe Creamy Vanilla Frosting (below)
Preheat oven to 350°F. Grease and lightly flour three 9- by 2-inch round cake pans, then line the bottoms with waxed paper. To make the cake: In a small bowl, sift the cake flour and set aside. In a large bowl, on the medium speed of an electric mixer, cream the butter and sugar until very light and fluffy, about 5 minutes. Add the eggs, one at a time, beating well after each addition. In a small bowl, whisk together the red food coloring, cocoa, and vanilla. Add to the batter and beat well. In a measuring cup, stir the salt into the buttermilk. Add to the batter in three parts alternating with the flour. With each addition, beat until the ingredients are incorporated, but do not overbeat. In a small bowl, stir together the cider vinegar and baking soda. Add to the batter and mix well. Using a rubber spatula, scrape down the batter in the bowl, making sure the ingredients are well blended and the batter is smooth. Divide the batter among the prepared pans. Bake for 30-40 minutes, or until a cake tester inserted in the center of the cake comes out clean. Let the layers cool in the pans for 1 hour. Remove from the pans and cool completely on a wire rack. When the cake has cooled, spread the frosting between the layers, then ice the top and sides of the cake with Creamy Vanilla Frosting (below) .
Creamy Vanilla Icing
- 6 tablespoons all-purpose flour
- 2 cups milk
- 2 cups (4 sticks) unsalted butter, softened
- 2 cups sugar
- 2 teaspoons vanilla extract
I know this sounds like a lot of work but it's worth it!


My happy cupcake customers! Recipe courtesy of www.epicurious.com

No comments:
Post a Comment
Note: Only a member of this blog may post a comment.